Beauforts Get First Shot On the Pivotal Day
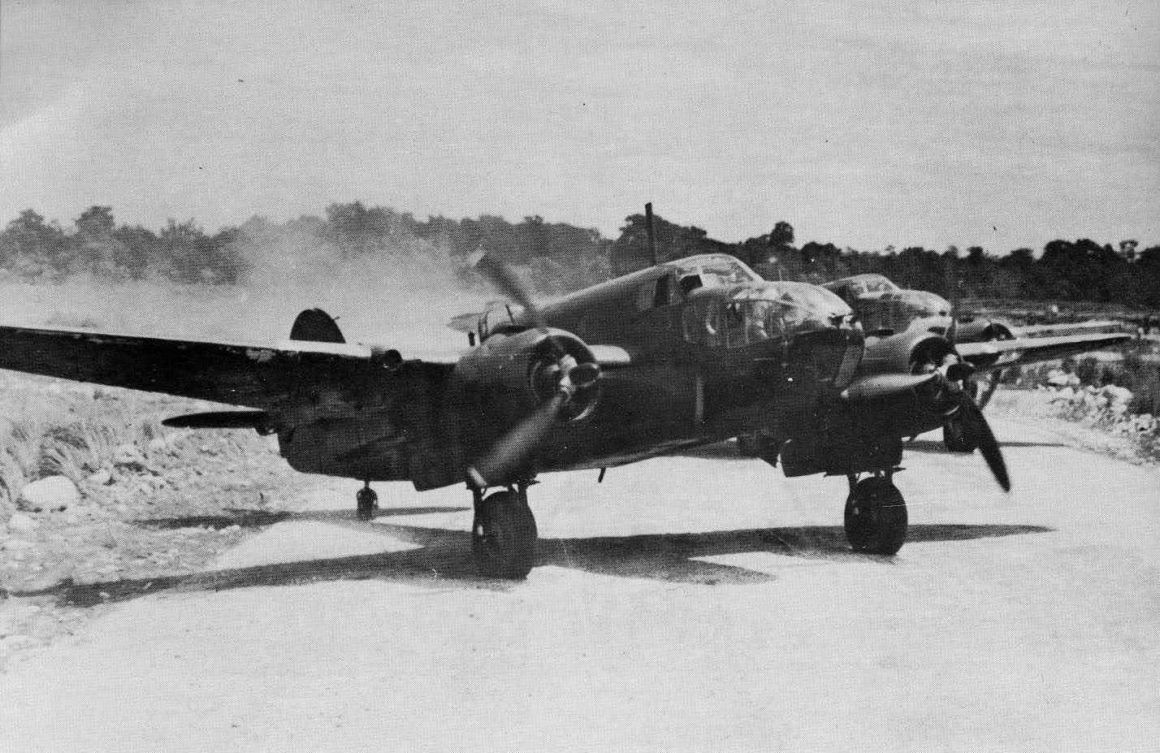
The first Allied aircraft to take a shot at the Japanese convoy on the 3rd was a group of Bristol Beaufort torpedo bombers. The Beauforts were hampered by bad weather in the area and failed to score, but over 100 Allied attackers were forming up and preparing for their attack later that morning.
More Level Bombing Yields More Success
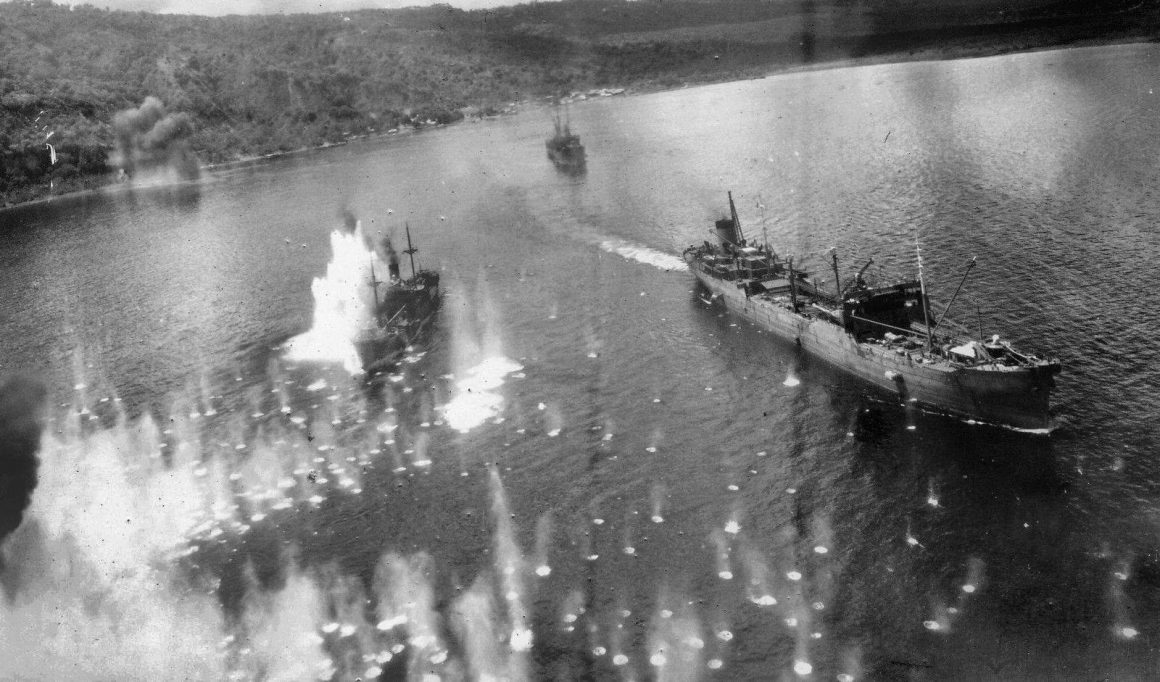
At 10:00 local time, 13 B-17s attacked the convoy from an altitude of 7,000 feet, which had the intended effect of dispersing the convoy. Then B-25s dropped their bombs from between 3,000 and 6,000 feet. These combined attacks caused a collision between two of the Japanese ships. As expected the B-17 and B-25 attacks didn’t run up the score, but they did draw Japanese anti-aircraft fire and leave the individual Japanese ships separated and ripe targets for the strafing masthead-level skip bombers.

The Beaus Let ‘Em Have It
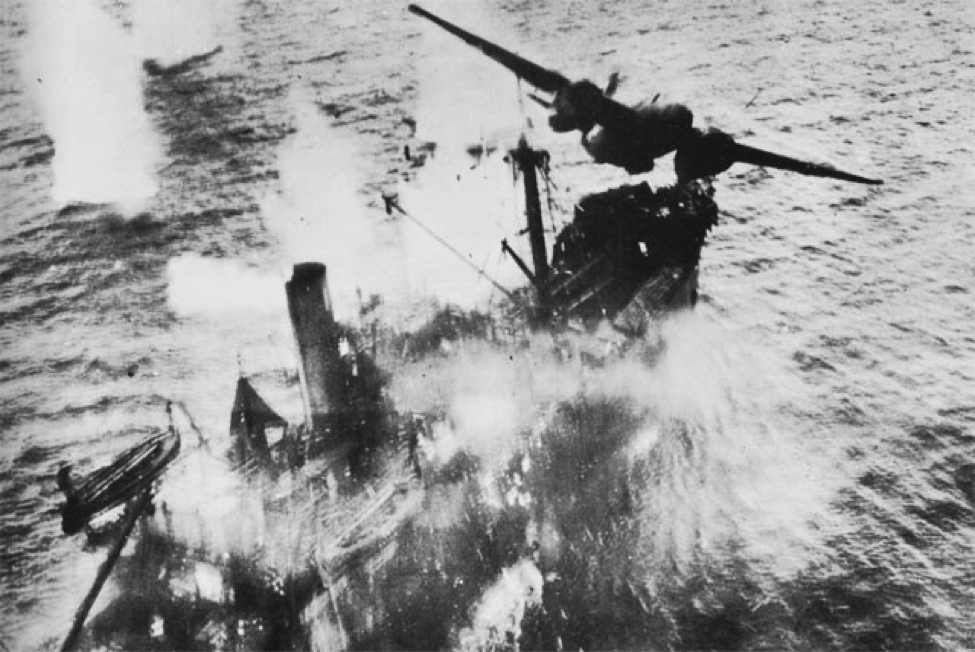
13 RAAF Beaufighters roared in at masthead height disguising their attacks to appear to be torpedo attacks by Beauforts instead. The ships turned to face them in order to present as small a target as possible to a torpedo and paid a heavy price as the Beaufighters strafed the Japanese ships. Seven B-25s then attacked from 2500 feet while six more attacked from masthead height.
Cry Havoc and Sink More Japanese Shipping
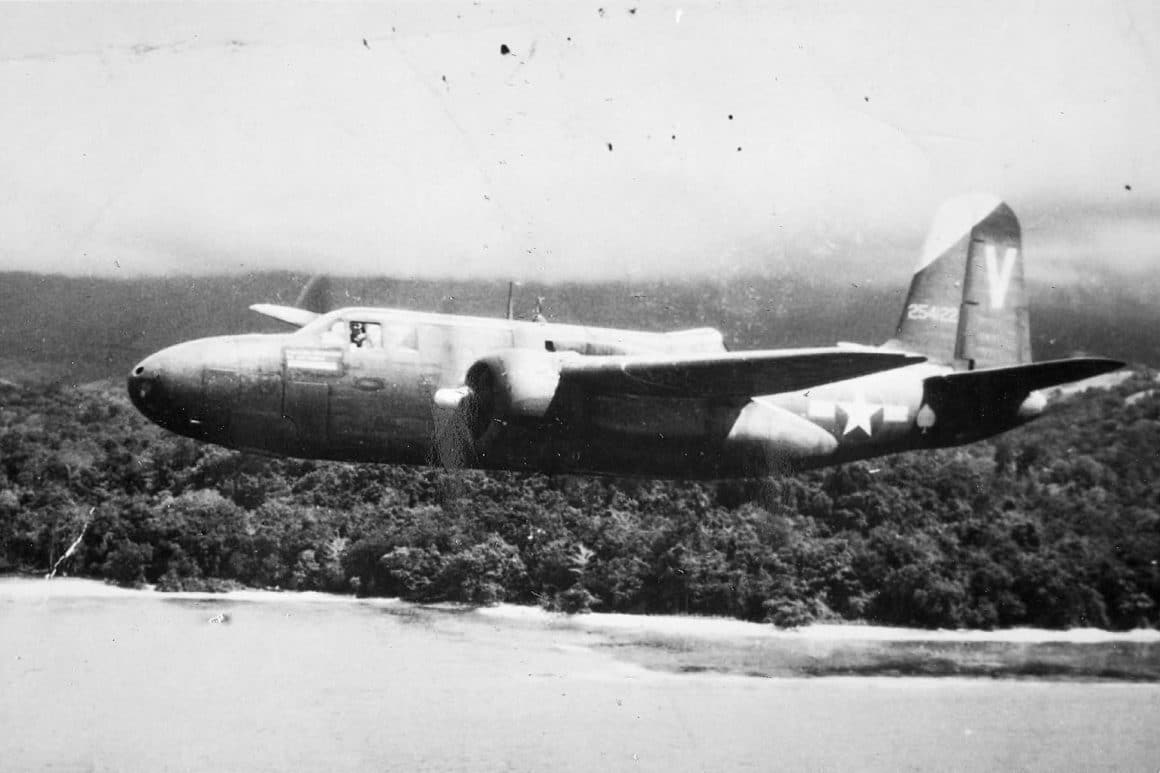
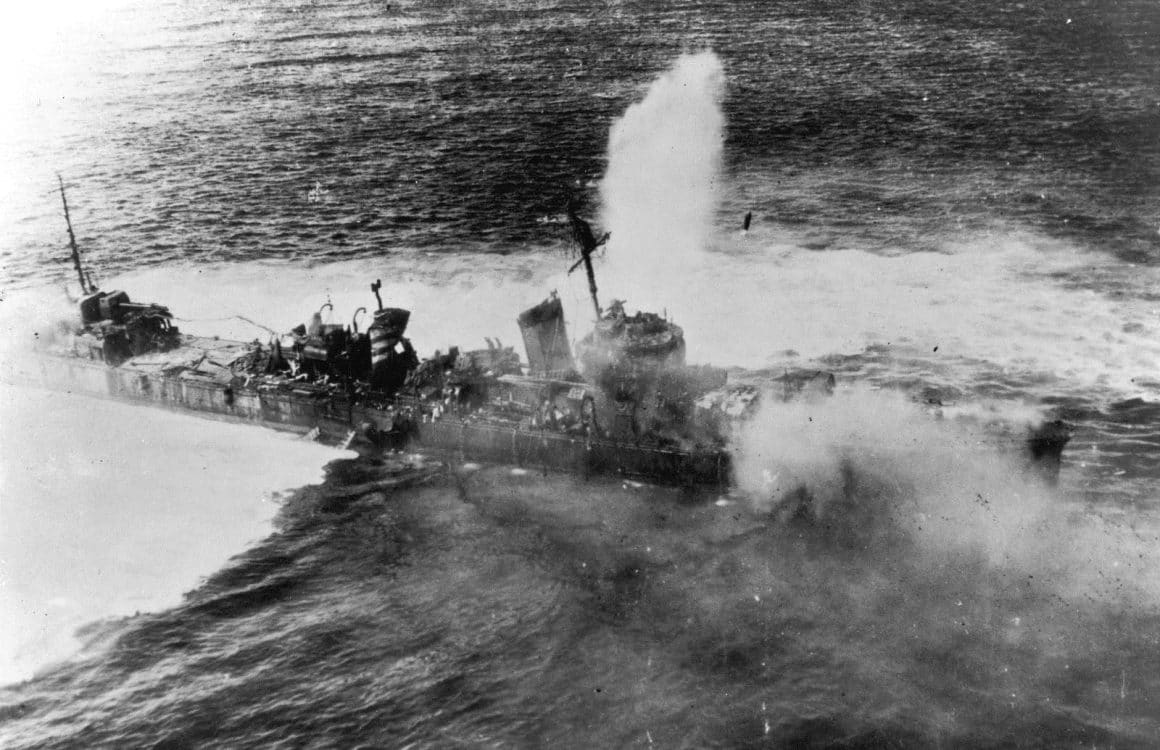
By the time 14 more B-25s finished their masthead strafing and skip bombing attacks that afternoon, a third of the Japanese transports were sunk or heavily damaged. American A-20 Havoc strafers then made their attacks using similar tactics and achieving similar results. B-17s bombing from high altitude claimed five more hits as well. The Allies kept pummeling the convoy for the remainder of the day using primarily USAAC B-25s and RAAF Havocs.
The Only US Navy Units In On the Battle
Navy Lieutenant Commander Barry Atkins led a force of 10 U.S. Navy PT boats out to attack the convoy on the night of 3 March. Eight PT boats made attacks starting early in the morning of 4 March. The PT boats finished off one of the damaged transports but were unable to find additional targets for their torpedoes. Later that morning a B-17 sank the destroyer Asashio with a 500 pound bomb.
A 75% Loss Rate Will Lose the Battle Every Time
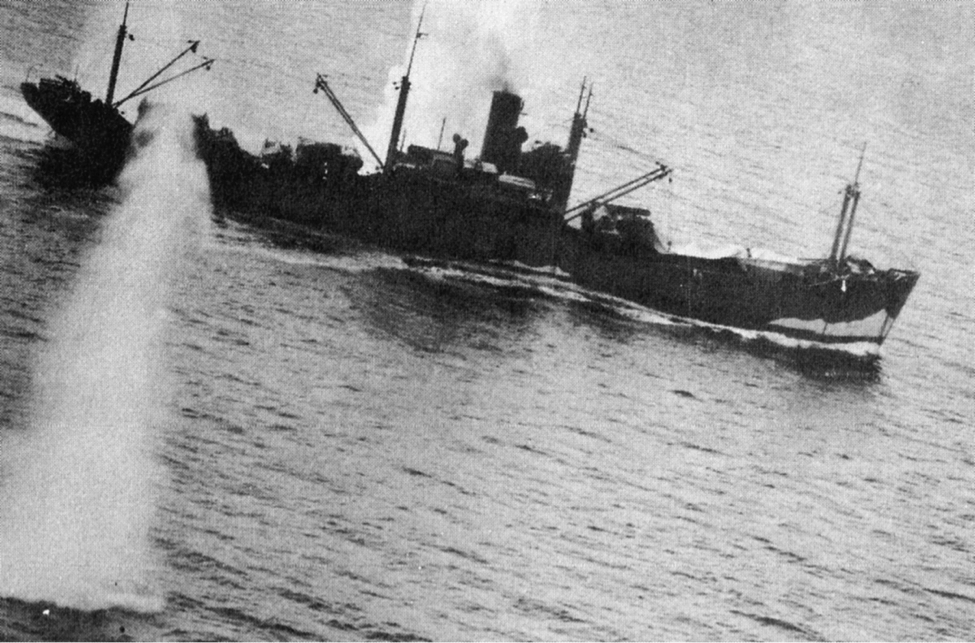
For the Japanese Army and Navy the battle was an unmitigated disaster. All eight cargo ships were sunk along with the destroyers Arashio, Asashio, Shirayuki, and Tokitsukaze. The destroyers Asagumo, Shikinami, Uranami, and Yukikaze were all damaged but lived to fight another day. Roughly 2900 Japanese sailors and soldiers were killed in the battle. Only about 1,200 of the nearly 7,000 troops who left Rabaul bound for Lae made it to New Guinea. Japanese destroyers and submarines pulled more than 2,700 survivors from the Bismarck Sea.
Cost of the Victory to the Allies
The Allies lost 10 aircrew in combat and another three in operational accidents, along with eight wounded. One B-17 and three P-38s were shot down. One Beaufighter and one B-25 were lost to operational accidents.
Allied Tactics Were Devastatingly Effective
More indicative of the difficulties the Japanese encountered in their New Guinea campaign is their own postwar estimate that up to 20,000 troops were lost attempting to transit from Rabaul on neighboring New Britain across the Bismarck Sea to New Guinea. These losses were in large part due to Allied air power and the effective use of low-level strafing and skip bombing tactics. 35 percent of the bombs dropped from low altitude were hits. The Allies would use similar tactics with similar results against Japanese shipping for the rest of the war.
BONUS VIDEO 1
Enjoy this Australian newsreel video about the Battle of the Bismarck Sea uploaded to YouTube by PeriscopeFilm.
[youtube id=”8C9QTKw8iQQ” width=”800″ height=”454″ position=”left”]
BONUS VIDEO 2
This American newsreel was uploaded to YouTube by NuclearVault.
[youtube id=”m1zPYWc-n_U” width=”800″ height=”454″ position=”left”]
